Find the Best Mini-Split Installers for Your Business
No obligation • Fast responses • Nationwide coverage
Why you can trust HVAC Firms
HVAC Firms is a leading United States resource for evaluating HVAC service providers. Our team researches companies, checks credentials, and reviews customer feedback to present clear, unbiased information. Listings and rankings are based on merit, and companies cannot pay to change our editorial content.
Search providers near you
Top Mini-Split Installers in Watsonville, California Ranked
A ductless mini-split system is a versatile heating and cooling solution that provides zoned comfort without the need for extensive ductwork. This technology is particularly valuable for Watsonville homeowners looking to efficiently manage the climate in specific rooms, home additions, or entire residences. Understanding the process, costs, and local considerations for installing a mini-split can help you make an informed decision and connect with qualified professionals for your project.
Freon HVAC, Electrical & Appliance
299 E McGlincy Ln Suite A, Campbell, CA 95008
Freon HVAC, Electrical & Appliance provides a range of heating and air conditioning services in San Jose, CA. They specialize in HVAC installation, repair, and maintenance, including air conditioning, furnaces, heat pumps, mini splits, and thermostat installation. Their team handles ductwork repair and indoor air quality services to support comfortable indoor environments. Freon HVAC offers expertise in refrigerant replacement and commercial HVAC solutions, focusing on efficient system operation throughout the year.
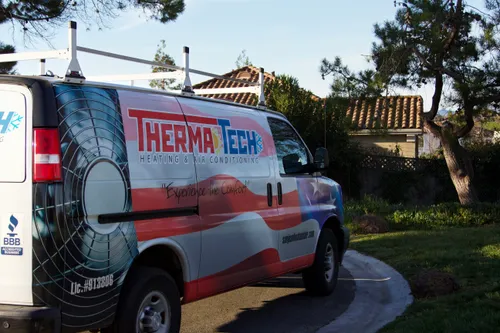
Therma Tech Inc
222 Barnard Ave, San Jose, CA 95125
Therma Tech Inc is an HVAC company based in San Jose, CA, offering a range of services including air conditioning, furnace, and heat pump repair and installation, as well as duct cleaning and HVAC tune-ups. They serve residential customers in the San Jose area, providing expertise in installing and maintaining heating and cooling systems. Therma Tech is known for handling complex HVAC projects such as multi-unit heat pump systems and duct replacements. Their team has built a reputation through numerous positive reviews highlighting their technical knowledge and thorough service. The company has been serving the community for over a decade, maintaining a strong presence and customer base in the region.
Silicon Valley Comfort
San Jose, CA
Silicon Valley Comfort is an HVAC company based in San Jose, CA, offering a wide range of heating and cooling services for residential and light commercial clients. They provide air conditioning repair, installation, and restoration, including ductless mini-split and heat pump systems. Their expertise extends to furnace and heater repair, restoration of vintage heating units, and smart thermostat installation. Silicon Valley Comfort uses advanced diagnostic tools to deliver thorough HVAC system evaluations and offers preventive maintenance plans to keep systems efficient. They also provide 24-hour emergency repair services across San Jose and nearby cities, ensuring reliable comfort year-round.
ABC Service
14225 Lora Dr #36, Los Gatos, CA 95032
ABC Service provides comprehensive HVAC solutions in San Jose, CA. They specialize in the installation, repair, and maintenance of heating and cooling systems, including furnaces, heat pumps, central air conditioners, ductless units, and commercial chillers. Their experienced technicians handle a wide range of services from routine tune-ups to complete system overhauls, ensuring year-round indoor comfort for both residential and commercial properties.
Kailey Air Systems
3633 Norwood Ave, San Jose, CA 95148
Kailey Air Systems is an HVAC company based in San Jose, CA, offering installation, repair, and maintenance services for a wide range of heating and cooling systems. They service major HVAC equipment including air conditioners, furnaces, heat pumps, boilers, mini splits, and geothermal heat pumps. Their certified technicians work throughout San Jose and nearby cities such as Santa Clara, Sunnyvale, Mountain View, and others, providing comprehensive HVAC solutions.
What is a Ductless Mini-Split System?
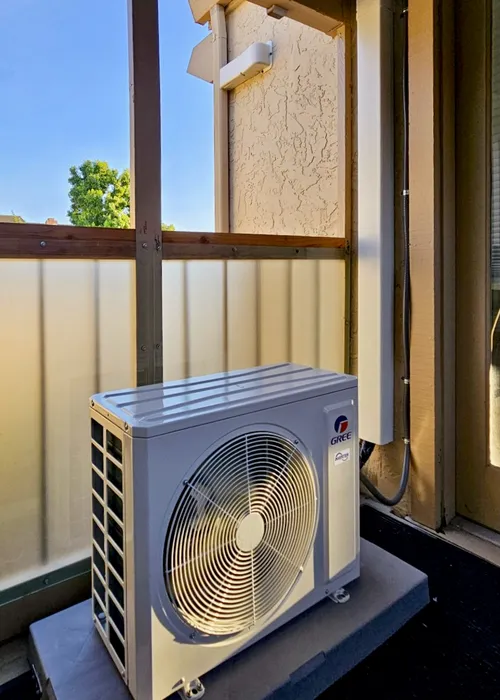
A ductless mini-split, often simply called a mini-split or ductless heat pump, consists of two main components: a compact outdoor condenser/compressor unit and one or more indoor air handling units. These components are connected by a small conduit that houses refrigerant lines, electrical wiring, and a condensate drain line, which is run through a small hole in the wall. This setup eliminates the need for the bulky ductwork required by traditional central HVAC systems, making it an ideal retrofit or addition for many homes.
The core appeal of these systems is their ability to provide "zoned" comfort. Each indoor unit operates independently, allowing you to heat or cool only the rooms you are using. This targeted approach can lead to significant energy savings compared to running a central system for the entire house, especially in Watsonville's climate where temperatures can vary from room to room.
Ideal Applications for Watsonville Homes
Ductless technology shines in specific scenarios common in our area. Its flexibility makes it a top choice for a variety of home improvement projects.
- Room Additions & Sunrooms: Adding a sunroom, converting a garage, or finishing a basement often presents a ductwork challenge. A mini-split is a perfect solution, providing dedicated, efficient climate control for the new space without the cost and complexity of extending existing ducts.
- Supplemental Heating and Cooling: Does your home have a room that's always too hot in the summer or too cold in the winter? A single-zone mini-split can solve this problem, providing precise comfort for that specific area, such as a master bedroom, home office, or attic conversion.
- Whole-Home Zoning: For homes without any existing ductwork (like many older Watsonville properties) or where ductwork is inefficient, a multi-zone mini-split system can provide complete home comfort. Multiple indoor units connected to one outdoor unit allow you to create different temperature zones (e.g., living room, kitchen, bedrooms) for ultimate control and efficiency 1.
- Specialized Spaces: They are excellent for workshops, art studios, or guest houses where you want independent temperature control without affecting the main house's system.
Types of Mini-Split Systems and Indoor Unit Styles
Choosing the right configuration is key to a successful installation. The two primary system types are defined by how many areas they serve.
- Single-Zone Systems: This is the most straightforward setup, consisting of one outdoor unit connected to one indoor unit. It's designed to condition a single room or open space. This is the typical choice for a garage conversion, new bedroom, or supplemental cooling.
- Multi-Zone Systems: A single outdoor condenser can be connected to multiple indoor air handlers (commonly 2, 3, 4, or even 8+). This allows you to control the temperature in several different rooms or zones independently from one outdoor unit, which is more cost-effective and space-efficient than installing multiple single-zone systems 2 3.
The indoor units also come in different styles to suit various room layouts and aesthetic preferences:
- Wall-Mounted: The most common and cost-effective type. These units are mounted high on an interior wall and are a great all-purpose choice for most rooms 4.
- Ceiling Cassettes: These are recessed into the ceiling, offering a very sleek, low-profile appearance. They distribute air in four directions for even coverage but require more complex installation involving ceiling work 5.
- Floor-Mounted: Installed low on a wall, similar to a traditional radiator. These are ideal for rooms with high ceilings, vaulted spaces, or where wall space is limited, such as in a sunroom with extensive windows.
Key Installation Considerations for Watsonville Properties
A professional installer will assess several critical factors unique to your home to ensure optimal performance, efficiency, and longevity of your mini-split system.
- Proper Sizing (Load Calculation): This is the most crucial step. An undersized unit will run constantly without reaching the desired temperature, while an oversized unit will short-cycle (turn on and off frequently), leading to poor humidity control, uneven temperatures, and higher energy bills. A professional will perform a Manual J load calculation specific to Watsonville's climate and your home's characteristics.
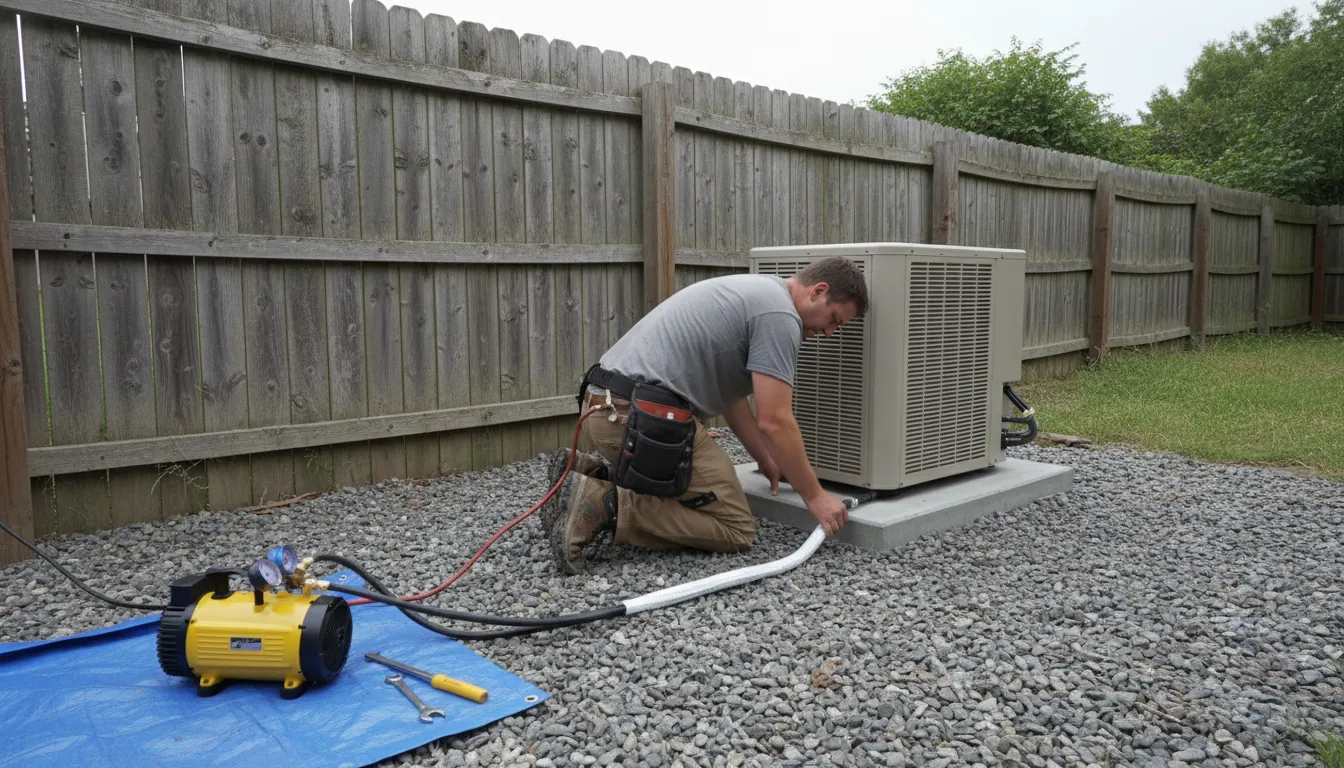
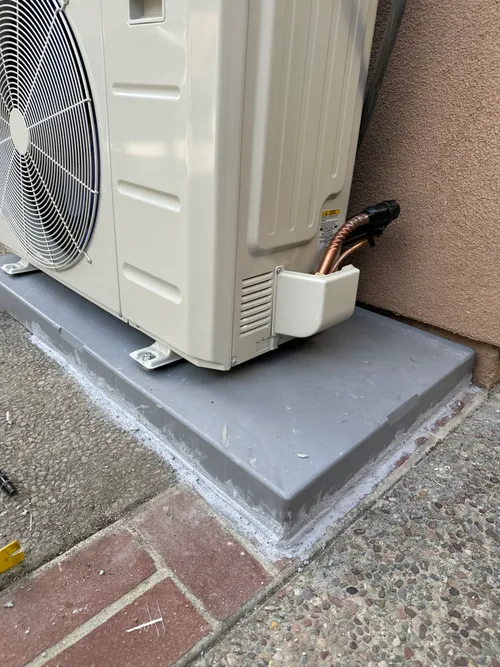
- Outdoor Unit Placement: The condenser needs a stable, level base (a concrete pad or wall bracket) located in a well-ventilated area with ample clearance for airflow. It should be placed away from windows, patios, and vegetation to minimize noise disturbance and ensure proper operation.
- Electrical Requirements: Mini-splits require a dedicated electrical circuit. Many installations, especially multi-zone systems, may require an electrical panel upgrade or the installation of a new sub-panel to handle the load. This is a key factor in the overall project cost and must be performed by a licensed electrician 6 7.
- Condensate Drainage: Like all air conditioners, mini-splits produce condensate (water) as they cool. This water must be drained away properly. The simplest method is a gravity drain routed to an appropriate exterior location. In some installations where gravity drainage isn't possible, a condensate pump may be required.
- Line Set Routing and Aesthetics: The conduit containing the refrigerant lines must be run from the outdoor unit to the indoor unit(s). While the hole is small, the line set itself may need to run along an exterior or interior wall. Homeowners often opt for decorative line-set covers to conceal these lines for a cleaner look.
Find the perfect mini-split installers for your needs
Get personalized recommendations and expert advice
Understanding Installation Costs in Watsonville
The cost of a ductless mini-split installation in Watsonville can vary widely based on the system's complexity, brand, efficiency, and the specific challenges of your home. The following ranges reflect typical installed costs in the California market.
- Single-Zone System: Installing one indoor unit with one outdoor unit typically ranges from $3,000 to $5,000 or more. The final price depends on the unit's capacity (BTUs), its efficiency rating (SEER2), brand, and the complexity of the electrical and mounting work 8.
- Multi-Zone System (2-3 zones): Installing a system with two or three indoor handlers connected to one outdoor condenser generally falls in the range of $5,500 to $8,500+ 9 10.
- Multi-Zone System (4+ zones): For whole-home comfort with four or more indoor zones, homeowners can expect costs ranging from $8,000 to $15,000 or higher. Larger systems require more powerful outdoor units, more extensive electrical work, and significantly more labor 11 12.
Several factors influence these price ranges:
- Equipment Brand and Efficiency: High-efficiency models with inverter technology and superior SEER2 ratings cost more upfront but offer greater long-term energy savings.
- Labor Complexity: Installations requiring long refrigerant line runs, difficult wall penetrations (like stucco or brick), ceiling cassette mounts, or complex electrical upgrades will increase labor costs.
- Additional Components: Costs for items like a condensate pump, upgraded line-set covers, or a dedicated sub-panel will add to the total project price.
The Professional Installation Process
A proper installation by a certified technician is non-negotiable for warranty validation, safety, and system performance. The process generally follows these key steps 13:
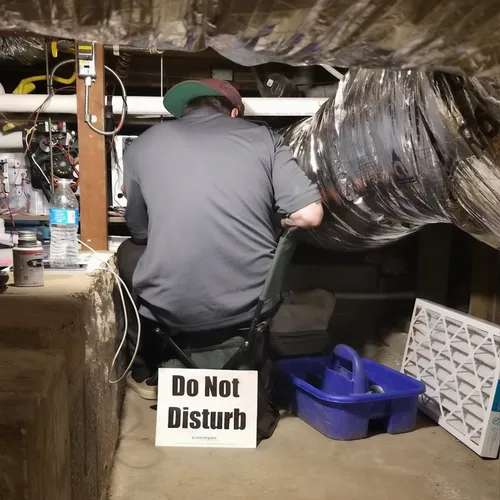
- Site Assessment & Planning: A technician visits your home to determine the optimal locations for indoor and outdoor units, assess electrical capacity, plan the refrigerant line route, and perform the crucial load calculation for correct sizing.
- Mounting the Units: The indoor air handler(s) are securely mounted on the wall (or ceiling), and the outdoor condenser is placed on its stable pad or bracket.
- Drilling and Running Lines: A small, precisely drilled hole (typically 3 inches) is made in the wall. The conduit containing the copper refrigerant lines, electrical wiring, and condensate drain line is run from the outdoor unit, through the wall, and to the indoor unit.
- Electrical Connection: A licensed professional connects the system to a dedicated circuit from your home's electrical panel, ensuring all code requirements are met.
- Sealing and Evacuation: The wall penetration is sealed to prevent air and moisture leaks. The refrigerant lines are then pressurized with nitrogen to check for leaks before a deep vacuum is pulled on the system to remove all moisture and non-condensable gases-a critical step for efficiency and longevity.
- Charging and Testing: The system is charged with the exact amount of refrigerant specified by the manufacturer. Finally, the technician starts the system, tests all modes (heating and cooling), verifies thermostat control, checks drainage, and ensures everything operates quietly and efficiently.
Frequently asked questions
Sources
Footnotes
-
Ductless mini-split installation: Cool 2025 Guide - Southern Air - https://www.southern-air.com/blog/ductless-mini-split-installation ↩
-
How Much Does a Mini-Split Installation Cost? - Taskrabbit Blog - https://www.taskrabbit.com/blog/mini-split-installation-cost/ ↩
-
How Much Does a Mini Split Installation Cost? (2026) - HomeGuide - https://homeguide.com/costs/ductless-mini-split-ac-cost ↩
-
Ductless Mini-Splits: A Comprehensive Cost Breakdown - https://www.myfivestarhomeservices.com/ductless-mini-splits-a-comprehensive-cost-breakdown/ ↩
-
How Much Does a Mini-Split Cost in 2025? - EnergySage - https://www.energysage.com/heat-pumps/how-much-does-a-mini-split-cost/ ↩
-
Whole House Ductless Mini Split Walk Through - https://www.youtube.com/watch?v=lDwutt_ywsA&t=2 ↩
-
Ductless Mini Split Setup: An Ultimate Guide - Airflow Heating & Air - https://www.goairflow.com/blog/ductless-mini-split-installation/ ↩
-
Ductless Mini-Split AC & Heat Pump Systems | San Francisco & Marin - https://www.gbheatingandcooling.com/minisplitsystems.php ↩
-
Ductless Mini-Split Installation Cost in 2025: Full Breakdown - https://osborneheatingncooling.com/ductless-mini-split-installation-cost/ ↩
-
Ductless Mini Split Installation Costs in 2026 - Carrier - https://www.carrier.com/residential/en/us/products/ductless-mini-splits/ductless-mini-split-installation-cost/ ↩
-
Mini-Split AC Installation in California - Bonney: Plumbing - https://www.bonney.com/blog/mini-split-ac-cost-california/ ↩
-
How Much Does It Cost to Install a Mini Split System? - https://elementairco.com/how-much-does-it-cost-to-install-a-mini-split-system/ ↩
-
Ductless Mini Split Installation Watsonville, CA - https://ductlessminisplitinstallation.netlify.app/ca/watsonville ↩