Find the Best Mini-Split Installers for Your Business
No obligation • Fast responses • Nationwide coverage
Why you can trust HVAC Firms
HVAC Firms is a leading United States resource for evaluating HVAC service providers. Our team researches companies, checks credentials, and reviews customer feedback to present clear, unbiased information. Listings and rankings are based on merit, and companies cannot pay to change our editorial content.
Search providers near you
Top Mini-Split Installers in Edmonds, Washington Ranked
A ductless mini-split system is a versatile heating and cooling solution perfect for homes and businesses in Edmonds. These systems provide efficient, zoned comfort by allowing you to control the temperature in specific rooms or areas independently, which is ideal for additions, sunrooms, or homes without existing ductwork. This guide will help you understand the process, options, and considerations for installing a mini-split, empowering you to find the right local expertise for your project.

Energy Saver Solutions Inc - HVAC & Insulation W Seattle
4402 40th Ave SW, Seattle, WA 98116
Energy Saver Solutions Inc - HVAC & Insulation W Seattle provides a range of HVAC services in Seattle, WA. They specialize in air conditioning repair, HVAC installation, boiler and mini split installation, as well as indoor air quality services. The company offers expert attic and crawl space insulation to improve energy efficiency and comfort. With over 30 years of industry experience, Energy Saver Solutions also performs carbon monoxide checks to ensure safety. They provide 24/7 emergency service and are available year-round to support heating and cooling needs in all weather conditions.
Energy Saver Solutions Inc - HVAC & Insulation SW Seattle
1414 SW 114th St, Seattle, WA 98146
Energy Saver Solutions Inc - HVAC & Insulation SW Seattle provides comprehensive HVAC and insulation services in Seattle, WA. They specialize in air conditioning repair, HVAC and boiler installation, mini split systems, and indoor air quality services. The company offers expert attic and crawl space insulation to improve energy efficiency and comfort. With over 30 years of industry experience, they also provide carbon monoxide testing and 24/7 emergency service availability to address urgent heating and cooling needs.
Columbia Heating & Air
6811 S 204th St, Kent, WA 98032
Columbia Heating & Air is an HVAC contractor based in Seattle, WA, serving King and Pierce counties. Founded in 1969, the company specializes in residential heating and cooling services including installation and repair of gas heating, air conditioning, heat pumps, ductless mini splits, and indoor air quality systems. They employ licensed and certified technicians and have been recognized as an A-Plus™ dealer by a leading manufacturer. Columbia Heating & Air offers evening and weekend service options for added convenience.
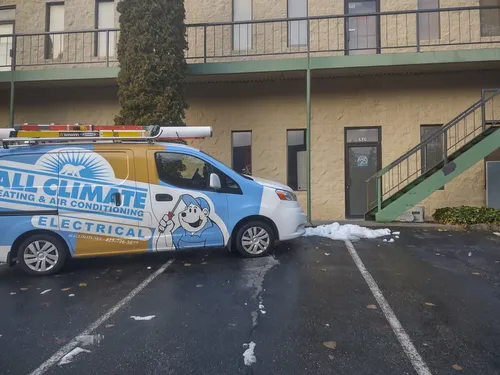
All Climate Heating & Air Conditioning
22313 70th Ave W Suite L7C, Mountlake Terrace, WA 98043
All Climate Heating & Air Conditioning is a family-owned HVAC company serving Seattle, WA, and the Greater Eastside areas since 1993. They provide a full range of heating and cooling services, including installation, repair, maintenance, and duct cleaning. As a Bryant authorized dealer, they offer energy-efficient heating and cooling equipment and employ NATE-certified technicians to ensure expert service. The company emphasizes careful workmanship and adherence to all codes and standards, with a lifetime workmanship warranty and extended factory warranties available on most equipment.
Progressive Comfort Solutions
129 NW 85th St Ste B, Seattle, WA 98117
Progressive Comfort Solutions is a Seattle-based contractor specializing in the design and installation of energy-efficient heat pump systems. Serving Seattle, WA, they focus on Mitsubishi Electric heat pump products, including ductless mini-splits and ducted systems, tailored for residential and commercial properties. Established in 2010, the company operates with a fully in-house technical team and offers personalized system designs to improve comfort and reduce energy use. They provide flexible scheduling and assist customers with financing options and available rebates.
Understanding Ductless Mini-Split Systems
A ductless mini-split, often called a ductless heat pump, consists of an outdoor compressor/condenser unit and one or more indoor air-handling units. They are connected by a small conduit housing refrigerant lines, power cables, and a condensate drain. This design eliminates the need for extensive ductwork, making them a superb choice for room additions, finished basements, or older homes where installing ducts is impractical or prohibitively expensive. The primary appeal is zoning-the ability to heat or cool only the spaces you're using, which can lead to significant energy savings compared to running a central system for the entire house.
Common Applications in Edmonds Homes
Ductless systems are incredibly adaptable to the unique layouts and needs of Edmonds residences.
- Room Additions and Sunrooms: When you add a new living space, extending existing HVAC ductwork can be complex and costly. A mini-split provides a dedicated, efficient climate control solution for that new area without impacting the rest of your home's system.
- Targeted Room Comfort: Do you have a home office that gets too warm or a bedroom that's always chilly? Installing a ductless unit in that specific room solves the problem directly. They are also popular for garages, workshops, and bonus rooms.
- Whole-Home Zoning: For comprehensive comfort, multi-zone mini-split systems can serve as a home's primary heating and cooling. One outdoor unit can connect to multiple indoor heads (from 2 to 8 or more), allowing each bedroom and living area to be set to its own preferred temperature.
Key Installation Considerations
A successful ductless installation hinges on careful planning around placement, type, and system configuration.
Choosing Your Zoning Strategy: Single vs. Multi-Zone
Your choice here defines the system's scope and cost.
- Single-Zone Systems: This setup involves one indoor unit connected to one outdoor unit. It's the most straightforward and cost-effective option, perfect for conditioning a single space like a garage conversion, attic apartment, or sunroom 1.
- Multi-Zone Systems: A single outdoor condenser supports multiple indoor units (e.g., two, three, or four heads). This allows you to create custom climate zones throughout your home. For example, you could install heads in the kitchen, living room, and each bedroom, all controlled independently from a single, efficient outdoor unit 2.
Selecting Indoor Unit Styles
The indoor air handler comes in several styles to match your room's layout and aesthetic preferences.
- Wall-Mounted Units: This is the most common and typically most affordable type. Installed high on an interior wall, they provide excellent air circulation across the room. Proper placement requires a clear wall space and consideration for furniture layout.
- Ceiling Cassette Units: These are recessed into the ceiling, with only a sleek vent panel visible. They offer a more discreet, built-in look and distribute air in four directions. Installation is more involved, as it requires sufficient ceiling cavity space, and is generally more expensive than a wall-mounted unit.
- Floor-Mounted Units: These are mounted low on a wall, near the floor. They are an excellent solution for rooms with high ceilings, vaulted spaces, or walls with extensive glass where high wall mounting isn't feasible. They are also common in historic home applications where preserving walls is a priority.
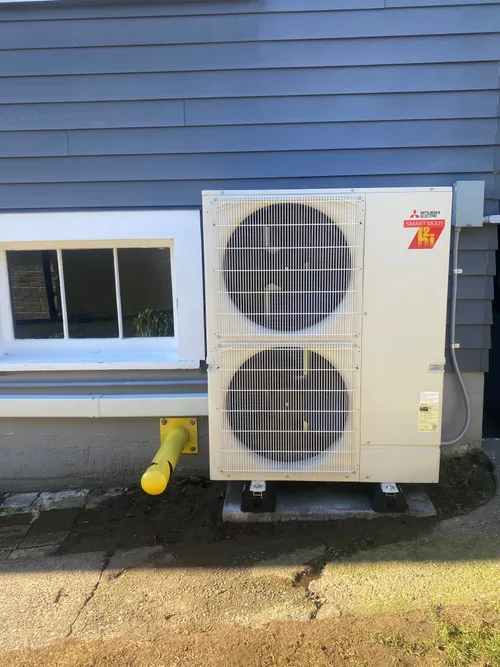
Planning Outdoor Unit Placement
The outdoor condenser requires thoughtful siting for performance, longevity, and neighborly consideration.
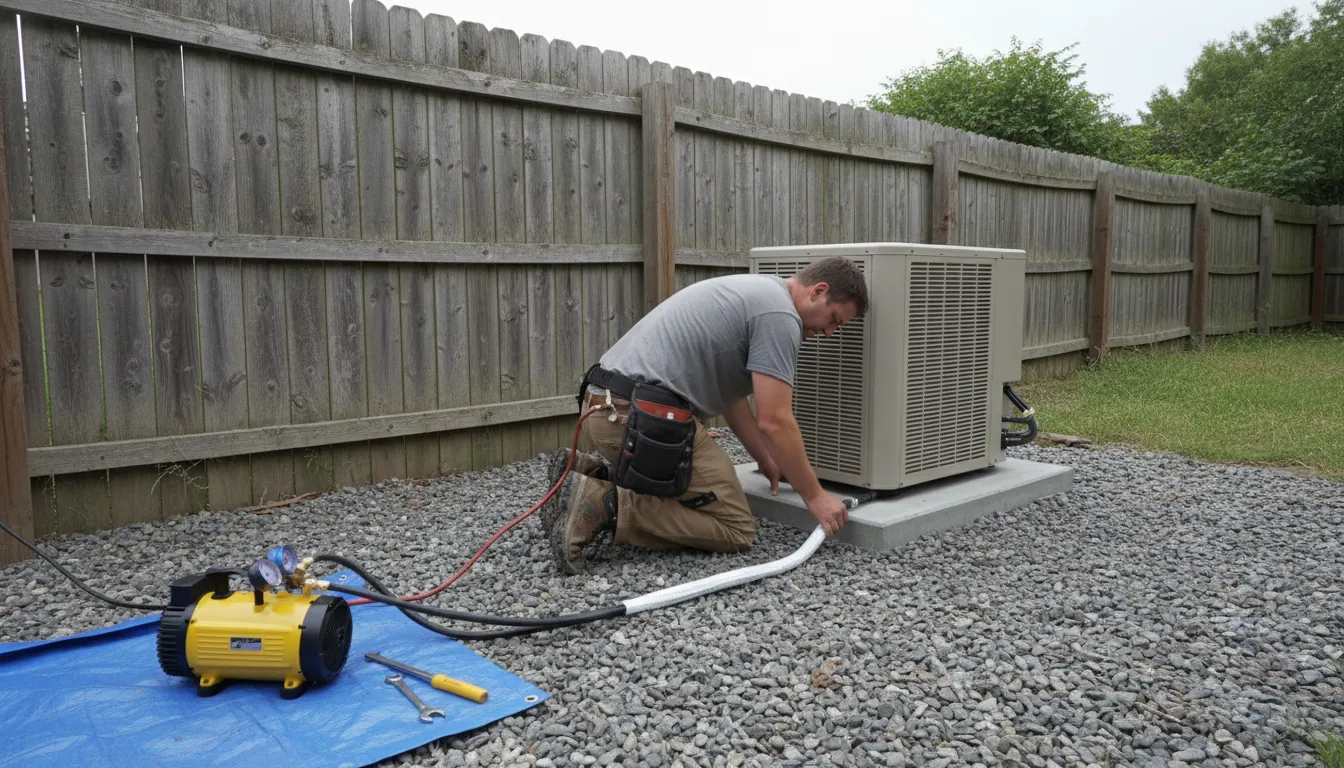
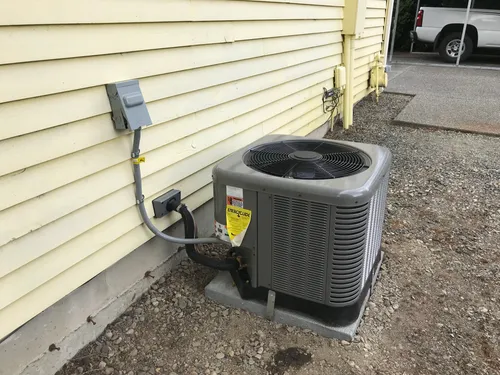
- Mounting Surface: The unit is typically placed on a dedicated, level concrete pad or secured to a wall or roof with a special mounting bracket. A stable, vibration-free base is crucial 3.
- Critical Clearances: Ample space around the outdoor unit is non-negotiable. Most manufacturers require a minimum of 12-24 inches of clearance on all sides, especially the back and top, to ensure proper airflow for heat exchange. Blocked airflow drastically reduces efficiency and can lead to system failure. The location should also allow easy access for future maintenance and repairs.
Find the perfect mini-split installers for your needs
Get personalized recommendations and expert advice
The Installation Process: What to Expect
A professional installation by a certified technician follows a meticulous sequence to ensure reliability and efficiency.
- Site Evaluation and Planning: A technician will assess your home to determine the optimal locations for the indoor and outdoor units, plan the routing for the conduit, and check your electrical panel for any necessary upgrades.
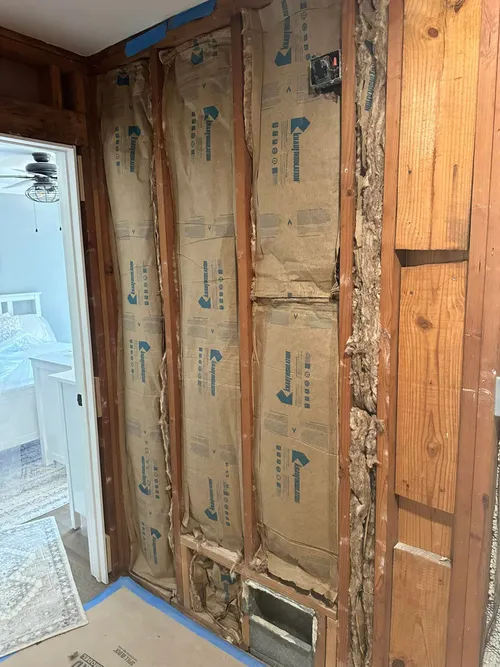
- Wall Penetration: A small hole (typically about 3 inches in diameter) is drilled through the exterior wall to connect the indoor and outdoor units.
- Mounting the Indoor Unit: A mounting bracket is securely anchored to the wall studs, and the indoor air handler is hung onto it.
- Running the Line Set: The refrigerant lines, condensate drain tube, and electrical wiring are connected to the indoor unit, fed through the wall hole, and carefully routed to the outdoor unit location.
- Setting the Outdoor Unit: The condenser is placed on its prepared pad or mount. All lines and electrical connections are made.
- System Evacuation and Charging: This is a critical step. A vacuum pump is used to remove all air and moisture from the refrigerant lines-a process essential for system longevity and performance. The system is then charged with the correct amount of refrigerant.
- Testing and Commissioning: The technician will power on the system, test all modes (heating and cooling), check for proper drainage, verify each zone's operation, and often demonstrate the thermostat or remote controls for you 4 5.
Cost Guide for Mini-Split Installation in Edmonds
Costs for ductless mini-split installation vary based on system complexity, brand, and home-specific factors. The following are estimated ranges for a full professional installation (equipment and labor) in the Edmonds area.
- Single-Zone System: Installing one indoor head with one outdoor condenser typically ranges from $3,000 to $5,000+ 6 7 8.
- Multi-Zone Systems: Costs increase with the number of zones.
Factors Influencing Cost:
- Equipment Brand and Efficiency: High-efficiency models from brands like Daikin, Mitsubishi, and Fujitsu command a premium but offer lower operating costs and often qualify for rebates.
- Installation Complexity: Long refrigerant line runs, difficult routing through walls or attics, the need for new electrical circuits, or special mounting requirements (like on a roof) will add to the labor cost.
- Indoor Unit Style: Ceiling cassettes are generally more expensive to install than standard wall-mounted units 13.
Financial Incentives: Edmonds homeowners should actively inquire about rebates. Local utilities like Puget Sound Energy and NW Natural, as well as state programs and manufacturers, frequently offer incentives for installing high-efficiency, ENERGY STAR® certified ductless heat pumps, which can significantly reduce the net project cost.
Frequently asked questions
Sources
Footnotes
-
Understanding mini split installation costs: A quick guide - Homeaglow - https://www.homeaglow.com/hub/content/mini-split-installation-cost ↩
-
Whole House Ductless Mini Split Walk Through - https://www.youtube.com/watch?v=lDwutt_ywsA&t=2 ↩
-
Mini Split AC | Ductless Air Conditioner | Mini Split Heat Pump - https://www.costway.com/appliance/mini-split-air-conditioners.html ↩
-
Ductless Mini Split Setup: An Ultimate Guide - Airflow Heating & Air - https://www.goairflow.com/blog/ductless-mini-split-installation/ ↩
-
How to Install a Mini Split - https://www.homedepot.com/c/ah/how-to-install-a-mini-split/9ba683603be9fa5395fab90c887a9dd ↩
-
Ductless Mini Split Installation Costs in 2026 - Carrier - https://www.carrier.com/residential/en/us/products/ductless-mini-splits/ductless-mini-split-installation-cost/ ↩
-
Ductless Mini Split Installation Costs: What to Expect • Ingrams Water & Air - https://iwae.com/resources/articles/ductless-mini-split-installation-costs-expect.html ↩
-
How Much Does it Cost to Install a Ductless Mini Split? - https://ballardnaturalgas.com/cost-of-a-ductless-mini-split/ ↩
-
How Much Does It Cost to Install a Mini Split System? - https://elementairco.com/how-much-does-it-cost-to-install-a-mini-split-system/ ↩
-
Ductless Mini-Split Installation Cost in 2025: Full Breakdown - https://osborneheatingncooling.com/ductless-mini-split-installation-cost/ ↩
-
Ductless Mini-Splits: A Comprehensive Cost Breakdown | Fire & Ice - https://indoortemp.com/resources/cost-of-mini-split-ductless-system ↩
-
What Is a 3-Zone Mini Split & Installation Cost Guide For 2026 - https://www.budgetheating.com/what-is-a-3-zone-mini-split-installation-cost-guid/ ↩
-
How Much Does a Mini-Split Installation Cost? - Taskrabbit Blog - https://www.taskrabbit.com/blog/mini-split-installation-cost/ ↩