Find the Best Mini-Split Installers for Your Business
No obligation • Fast responses • Nationwide coverage
Why you can trust HVAC Firms
HVAC Firms is a leading United States resource for evaluating HVAC service providers. Our team researches companies, checks credentials, and reviews customer feedback to present clear, unbiased information. Listings and rankings are based on merit, and companies cannot pay to change our editorial content.
Search providers near you
Top Mini-Split Installers in Mesquite, Texas Ranked
A ductless mini-split system is an efficient heating and cooling solution that provides targeted comfort without the need for extensive ductwork. For homeowners in Mesquite, these systems are particularly valuable for adding climate control to new additions, solving stubborn hot or cold spots, or providing efficient whole-home comfort. This guide will help you understand the process, costs, and key considerations for installing a ductless air conditioner or heat pump in your home, so you can find the right local professional for the job.
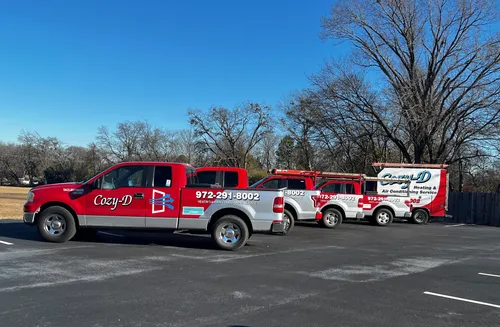
Cozy - D Heating & A/C LLC
117 Elston Dr, Dallas, TX 75232
Cozy - D Heating & A/C LLC is an HVAC company based in Dallas, TX, serving the Dallas-Fort Worth metroplex. They provide heating, ventilation, and air conditioning services including installation, repair, and maintenance of systems such as furnaces, heat pumps, central air systems, and ductless mini-splits. With over 27 years in business since 1997, Cozy - D offers comprehensive HVAC solutions and emphasizes quality workmanship. Their technicians are drug tested and background checked, and they provide support six days a week.
Pretty Cool AC Heating And Refrigeration Inc
120 Woodhill St, Mesquite, TX 75181
Pretty Cool AC Heating And Refrigeration Inc provides a wide range of HVAC services in Dallas, TX, including air conditioning, furnace, heat pump, and mini split installation and repair. They serve both residential and commercial clients, offering capabilities such as thermostat installation and HVAC tune-ups. The company is experienced in handling refrigerant management and system diagnostics, ensuring efficient heating and cooling solutions. With a strong focus on customer care and technical expertise, they have built a reputation for honest and thorough service. Their team is available to support year-round HVAC needs, including emergency repairs and system replacements.
David Services, Inc
3105 Lomita Dr #108 #108, Lancaster, TX 75146
David Services, Inc is a heating, cooling, and heat pump specialist serving Dallas, TX. They provide residential and commercial HVAC installation, repair, and maintenance services, including air conditioners, heat pumps, gas furnaces, programmable thermostats, humidifiers, ductless split systems, and indoor air quality products. The company offers 24/7 emergency service and service agreements to maintain system performance. With over 20 years of experience, David Services, Inc supports a wide range of brands and specializes in heat pump systems.

Air Patrol Air Conditioning & Heating
13644 Neutron Rd #100, Farmers Branch, TX 75244
Air Patrol Air Conditioning & Heating is an HVAC company serving Dallas, TX, and nearby areas including Farmers Branch and Carrollton. They provide a wide range of heating and cooling services such as furnace repair and installation, air conditioner service, heat pump repair, thermostat installation, and indoor air quality solutions. The company is also a certified dealer for gas fireplaces and offers related installation and repair services. With over 20 years of experience since 2003, Air Patrol employs NATE-certified technicians skilled in servicing various HVAC brands and systems.
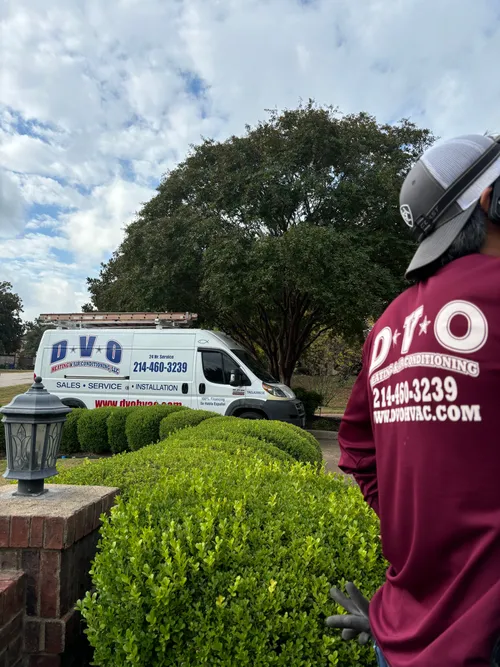
DVO Heating & Air Conditioning
Dallas, TX
DVO Heating & Air Conditioning is a family-owned HVAC company serving Dallas, TX, and nearby areas. With nearly two decades of experience, they offer a range of services including air conditioning repair and installation, furnace repair and installation, mini-split system installation, and indoor air quality solutions. The company works with well-known brands like Trane, American Standard, Mitsubishi, and Daikin to provide reliable heating and cooling systems. DVO Heating & Air Conditioning is a licensed contractor in Texas, known for professional workmanship and transparent pricing.
Understanding Ductless Mini-Split Systems
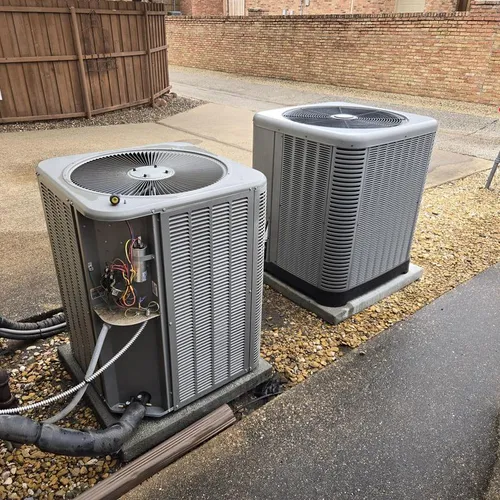
A ductless mini-split system consists of two main components: an outdoor condenser/compressor unit and one or more indoor air-handling units. Refrigerant lines, electrical wiring, and a condensate drain line connect the two through a small hole in your wall. This setup eliminates the energy losses associated with ductwork in central forced-air systems, which can account for more than 30% of energy consumption, especially if the ducts are in an unconditioned space like an attic 1. The primary appeal is zoning-the ability to control the temperature in individual rooms or "zones" independently.
Ideal Applications for Mesquite Homes
Ductless technology is a versatile solution for many common scenarios in Mesquite residences:
- Home Additions & Renovations: Adding a sunroom, garage apartment, or finished attic without extending existing ductwork.
- Supplemental Cooling & Heating: Addressing rooms that are perpetually too hot or too cold compared to the rest of the house.
- Older Homes: Providing modern comfort in homes built without any central air conditioning ducts.
- Efficiency Upgrades: Replacing inefficient window units or providing a more efficient primary system for smaller homes.
System Types and Zoning Configurations
Choosing the right configuration is the first critical step in your ductless installation project.
Single-Zone vs. Multi-Zone Systems
- Single-Zone Systems: This is the most straightforward setup, linking one outdoor unit to a single indoor unit. It's perfect for cooling a home office, garage, or master bedroom suite. Installation is generally less complex and more affordable.
- Multi-Zone Systems: A single outdoor unit connects to multiple indoor heads (e.g., two, three, four, or five). Each indoor unit can be controlled independently, allowing for different temperatures in the living room, bedrooms, and kitchen simultaneously. This is an efficient solution for whole-home comfort without multiple outdoor units cluttering your property.
Indoor Unit Styles
The indoor air handler comes in several styles to suit different room layouts and aesthetic preferences:
- Wall-Mounted: The most common and cost-effective type. It is mounted high on an interior wall, requiring a sturdy section, often anchored into studs, with about 6 inches of clearance above and to the sides for proper airflow 2 3.
- Ceiling Cassette: These units are recessed into the ceiling, offering a very discreet, flush-mounted appearance. They distribute air in four directions and are ideal for rooms with low wall space or a desire for minimal visual impact.
- Floor Console: Resembling a traditional radiator, this unit is installed near floor level against an exterior wall. It's a good option for rooms with extensive glass walls or where wall or ceiling mounting isn't feasible.
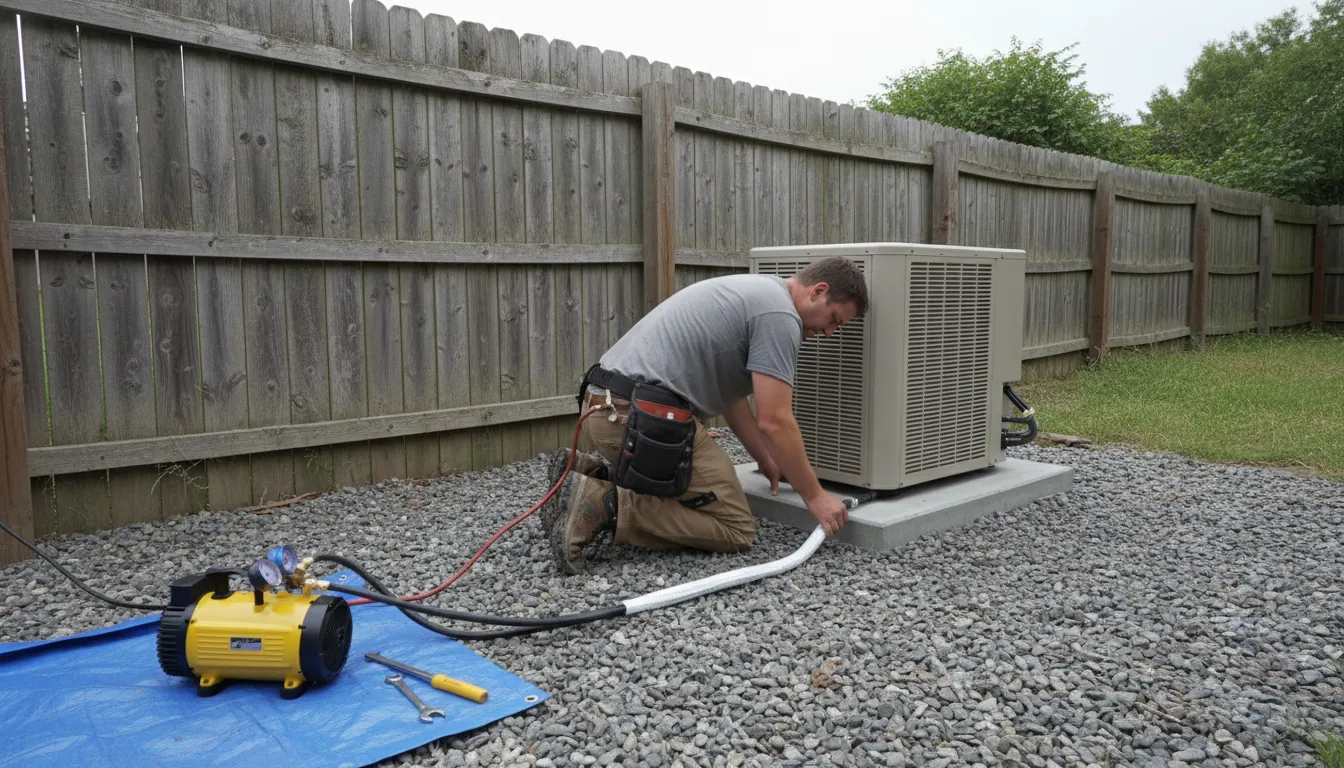
The Installation Process: What to Expect
A professional installation is crucial for performance, efficiency, and warranty protection. Here's a breakdown of the key steps a certified technician will follow.
1. Planning and Assessment
A quality installer will first conduct a load calculation to determine the correct system size (measured in BTUs) for your space. They will also plan the optimal placement for both indoor and outdoor units, considering airflow, drainage, aesthetics, and future service access.
2. Indoor Unit Installation
The indoor unit must be mounted on a structurally sound wall. The technician will level the mounting bracket, drill a small hole (typically 3 inches) through the exterior wall for the line set, and secure the unit. Proper drainage is critical; the condensate line must have a consistent downward slope to drain by gravity. If this isn't possible, a condensate pump will be required, adding to the project cost 4 5.
3. Outdoor Unit Placement
The outdoor condenser requires a stable, level base, such as a poured concrete pad or heavy-duty composite mounting brackets. It must be placed with clearances as specified by the manufacturer (often 12-24 inches on all sides) to ensure adequate airflow for heat exchange and easy maintenance access 6. The location should also consider noise and aesthetics relative to your and your neighbors' property.
4. Connecting the System
The technician will run the pre-charged refrigerant lines (the "line set"), electrical conduit, and condensate drain line through the wall hole and connect them to the outdoor unit. All electrical connections must be made by a qualified professional, as the project may require a new dedicated circuit from your electrical panel.
5. Vacuum, Charge, and Test
This is a critical phase. The system is evacuated of air and moisture using a vacuum pump before the refrigerant charge is released. The technician will then test the system for proper cooling and heating operation, check refrigerant pressures, verify drainage, and ensure all controls function correctly.
Find the perfect mini-split installers for your needs
Get personalized recommendations and expert advice
Cost Factors for Mini-Split Installation in Mesquite
The total investment for a ductless mini-split installation varies significantly based on your home's specific needs. Here is a general cost breakdown based on the number of zones 7 8:
- Single-Zone System: $2,500 - $4,500
- Dual-Zone System: $4,500 - $7,500
- Three-Zone System: $6,500 - $9,500
- Four-Zone System: $8,000 - $12,000
- Five-Zone System: $10,000 - $15,000+
What Influences the Final Price?
- Equipment Brand and Quality: Premium brands like Mitsubishi and Fujitsu often command higher prices for their advanced technology and reliability, while other reputable brands like Daikin or Panasonic may offer strong value 9.
- Labor and Complexity: Installations requiring long refrigerant line runs, multiple stories, difficult wall constructions, or complex electrical work will increase labor time and cost.
- Additional Necessary Work:
- Electrical Upgrades: Many systems require a new 220V dedicated circuit. Upgrading your electrical panel to accommodate this can cost $500 to $2,000.
- Permits: Most municipalities, including Mesquite, require permits for HVAC work. Permit fees typically range from $100 to $300 10.
- Site Preparation: This includes the cost of the concrete pad or brackets for the outdoor unit, as well as any drywall repair or painting needed after installation.
Choosing the Right Installation Professional
The quality of the installation is as important as the quality of the equipment. A poor installation can lead to refrigerant leaks, inefficient operation, and premature system failure.
- Licensing and Insurance: Always verify that the contractor holds a valid Texas HVAC license and carries both liability and worker's compensation insurance.
- Ductless Experience: Look for a company that specifically lists mini-split or ductless installation as a core service. Ask for examples of past projects.
- Detailed Quotes: Obtain written, itemized estimates from at least three contractors. The quote should detail equipment models, labor scope, permit responsibilities, and warranty terms.
- Warranties: Understand both the manufacturer's equipment warranty and the installer's workmanship warranty. A reputable installer will stand behind their labor for at least one year.
Permits and Regulations in Mesquite
A professional installer will typically pull the required local building permits on your behalf. This process ensures the installation complies with local building codes, electrical codes, and mechanical codes. The inspection that follows the permit provides an independent check on the safety and quality of the work. Skipping permits can void equipment warranties, create issues during a home sale, and potentially pose safety risks.
Frequently asked questions
Sources
Footnotes
-
Ductless Mini Split Setup: An Ultimate Guide - Airflow Heating & Air - https://www.goairflow.com/blog/ductless-mini-split-installation/ ↩
-
Ductless mini-split installation: Cool 2025 Guide - Southern Air - https://www.southern-air.com/blog/ductless-mini-split-installation ↩
-
Full Installation of Mini Split Ductless Unit, Step by Step! - https://www.youtube.com/watch?v=JQkth-AM5CE&t=156 ↩
-
DIY Mini Split Install - All the Things Nobody Shows You - https://www.youtube.com/watch?v=2mKwCmaR5Qg&t=16 ↩
-
Ductless Mini-Splits: A Comprehensive Cost Breakdown - https://www.myfivestarhomeservices.com/ductless-mini-splits-a-comprehensive-cost-breakdown/ ↩
-
How to Install a Mini Split - The Home Depot - https://www.homedepot.com/c/ah/how-to-install-a-mini-split/9ba683603be9fa5395fab90c887a9dd ↩
-
Cost to Install Mini Split AC System in 2025 - https://dellahome.com/blogs/della-blog/cost-to-install-mini-split-ac-system ↩
-
Mini-Split Installation Mesquite TX - https://www.dvohvac.com/mini-split/installation ↩
-
How Much Does a Mini-Split Installation Cost? - Taskrabbit Blog - https://www.taskrabbit.com/blog/mini-split-installation-cost/ ↩
-
Ductless Mini-Split Installation Cost in 2025: Full Breakdown - https://osborneheatingncooling.com/ductless-mini-split-installation-cost/ ↩