Find the Best Mini-Split Installers for Your Business
No obligation • Fast responses • Nationwide coverage
Why you can trust HVAC Firms
HVAC Firms is a leading United States resource for evaluating HVAC service providers. Our team researches companies, checks credentials, and reviews customer feedback to present clear, unbiased information. Listings and rankings are based on merit, and companies cannot pay to change our editorial content.
Search providers near you
Top Mini-Split Installers in Little Elm, Texas Ranked
A ductless mini-split system provides efficient, zoned heating and cooling by connecting one or more indoor air handlers to an outdoor condenser. This installation is a smart solution for Little Elm homes, offering precise temperature control for specific areas without the need for extensive ductwork. It matters because it can significantly improve comfort and energy efficiency, especially in Texas's demanding climate. You can use this guide to understand the process, costs, and benefits to find a qualified local professional for your project.
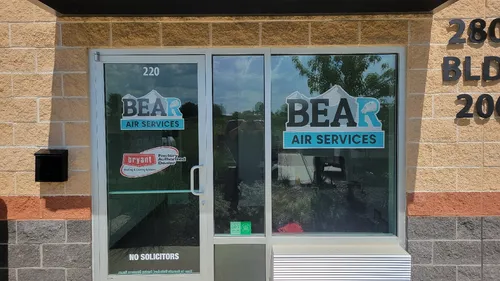
Bear Air Services
2801 Justin Rd Bldg 200 Suite 220, Flower Mound, TX 75028
Bear Air Services is a licensed heating and cooling contractor serving Irving, TX, and nearby communities. They offer residential HVAC installation, repair, and maintenance services, including air conditioners, heat pumps, furnaces, mini splits, thermostats, and indoor air quality solutions. As a Bryant dealer, they provide a range of products and specialize in equipment retrofit and replacement. The company emphasizes employee training and safety, and offers 24/7 emergency service to support customers whenever needed.

Air Patrol Air Conditioning & Heating
13644 Neutron Rd #100, Farmers Branch, TX 75244
Air Patrol Air Conditioning & Heating is an HVAC company serving Dallas, TX, and nearby areas including Farmers Branch and Carrollton. They provide a wide range of heating and cooling services such as furnace repair and installation, air conditioner service, heat pump repair, thermostat installation, and indoor air quality solutions. The company is also a certified dealer for gas fireplaces and offers related installation and repair services. With over 20 years of experience since 2003, Air Patrol employs NATE-certified technicians skilled in servicing various HVAC brands and systems.
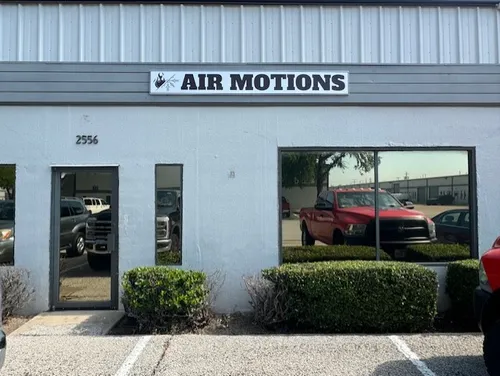
Air Motions
2556 Gravel Dr, Fort Worth, TX 76118
Air Motions is an HVAC company serving Fort Worth, TX, offering repair, installation, and maintenance services for heating and cooling systems. They handle a range of HVAC needs including air conditioning, furnace repair, mini-split installation, duct cleaning, and indoor air quality services. The company provides both residential and commercial HVAC solutions and is equipped to work with all major brands. Air Motions offers same-day repair services and emergency support, ensuring help is available at any time. Their team emphasizes transparent communication and thorough assessments to meet customer needs.

Total Air & Heat Co.
1408 O Ave suite 100, Plano, TX 75074
Total Air & Heat Co. is an HVAC and plumbing service provider based in Dallas, TX. They offer a wide range of services including air conditioning, heating, heat pump, and geothermal heat pump installation and repair, as well as indoor air quality solutions and thermostat installation. The company serves both residential and commercial customers, providing 24/7 repair services for HVAC systems. Established in 1957, Total Air & Heat Co. has over 60 years of experience and is a Carrier Factory Authorized Dealer with NATE-certified technicians. Their capabilities include working with traditional and geothermal heat pumps, as well as offering specialized products like air purifiers and UV lights for improved indoor air quality.

Samm's Heating and Air Conditioning
250 Chisholm Pl, Plano, TX 75075
Samm's Heating and Air Conditioning is an HVAC company serving Dallas, TX, and the surrounding North Texas area. Since 2005, they have provided a range of services including air conditioning, heating, heat pump, furnace, and mini-split installation and repair, as well as duct cleaning, thermostat installation, and indoor air quality solutions. The company is an American Standard Dealer with factory-trained technicians who offer comprehensive HVAC services backed by a lifetime workmanship warranty. Samm's also provides emergency services and flexible scheduling options, including same-day and weekend appointments.
What is a Ductless Mini-Split System?
A ductless mini-split, or simply a mini-split, is a versatile HVAC system ideal for room additions, sunrooms, garages, or whole-house comfort. Unlike central air, it doesn't require ductwork. Instead, compact indoor units are mounted on walls, ceilings, or floors and connected via refrigerant lines to an outdoor unit. This setup allows for independent "zones," meaning you can cool your home office while keeping the bedroom warmer, leading to personalized comfort and potential energy savings.
For many Little Elm residents, these systems are perfect for older homes that never had ducts, new additions where extending ducts is impractical, or for creating efficient zones in a larger home. The ability to control temperatures room-by-room means you're not wasting energy conditioning empty spaces, a key advantage during our long, hot summers.
The Mini-Split Installation Process: A Step-by-Step Guide
Professional installation is critical for performance, efficiency, and maintaining the manufacturer's warranty. Here's what a typical ductless installation entails:
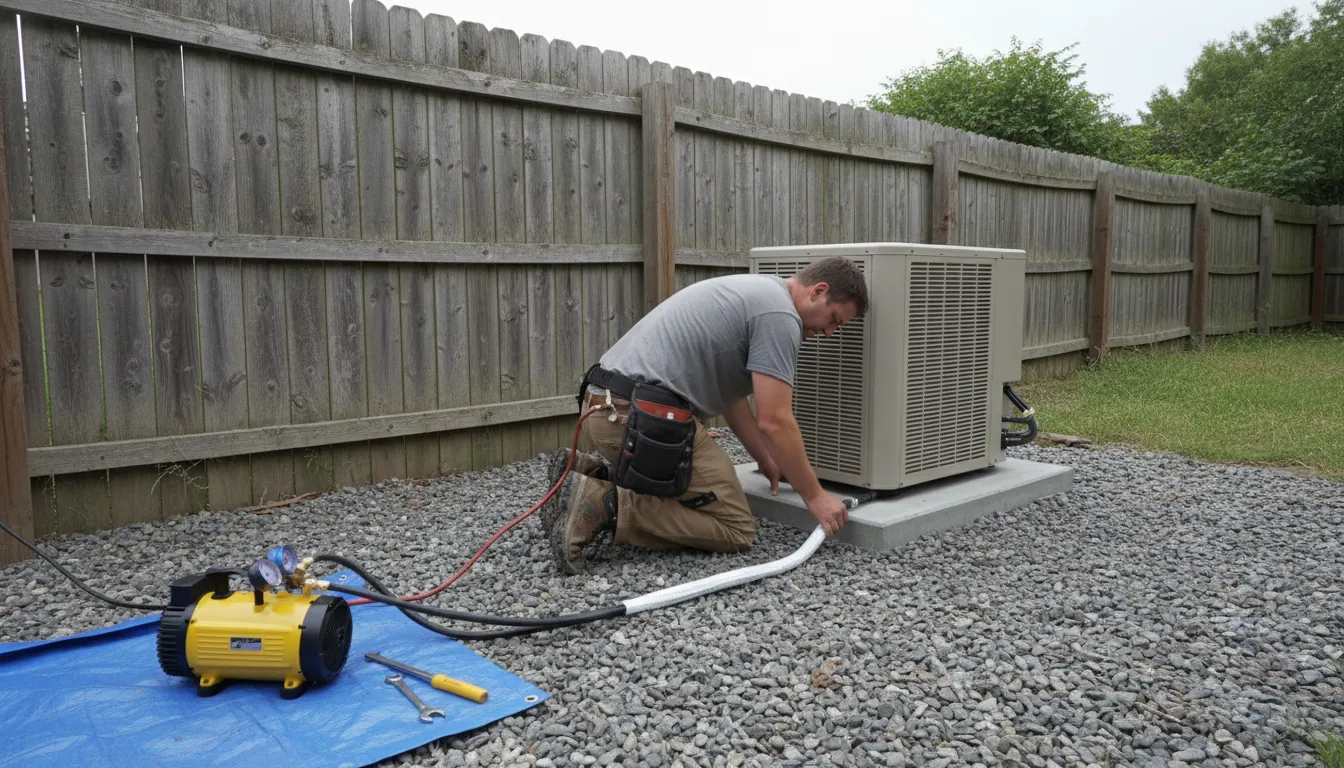
1. Site Preparation and Assessment A technician will first evaluate your home to determine the optimal locations for both indoor and outdoor units. For indoor heads, they consider factors like airflow patterns, sunlight exposure, and aesthetics. The outdoor condenser needs a stable, level spot with proper clearances for airflow and future service.
2. Drilling and Mounting A small hole, typically 2-3 inches in diameter, is drilled through the exterior wall to run the conduit. This conduit houses the refrigerant lines, electrical wiring, and condensate drain. Next, mounting brackets are securely attached to wall studs or ceiling joists for the indoor unit(s). The outdoor unit is placed on a dedicated pad or wall brackets to keep it level and elevated 1.
3. Making the Connections The refrigerant lines (pre-charged with nitrogen to prevent contamination) and electrical wiring are carefully run between the indoor and outdoor units through the conduit. A condensate drain line is also installed from the indoor unit to safely discharge moisture outside.
4. System Evacuation and Testing This is a crucial step. A vacuum pump is connected to the system to remove all air and moisture from the refrigerant lines, which is essential for efficiency and preventing damage. Once a deep vacuum is achieved, the technician releases the refrigerant from the outdoor unit into the lines. The system is then fully tested for leaks, proper refrigerant charge, and correct operation of all functions, including heating and cooling modes 2.
Choosing the Right System Type for Your Home
Understanding the two main configurations will help you plan your project:
-
Single-Zone Systems: This setup involves one outdoor condenser connected to a single indoor air handler. It's an excellent and cost-effective choice for conditioning one specific area, such as a garage conversion, master suite, or sunroom 3.
-
Multi-Zone Systems: A single, more powerful outdoor unit can connect to multiple indoor units (commonly 2, 3, 4, or more). This allows you to create a custom comfort solution for your entire home or large sections of it. Each indoor unit operates independently, providing true zoned comfort 4.
Find the perfect mini-split installers for your needs
Get personalized recommendations and expert advice
Indoor Unit Styles: Finding the Perfect Fit
The indoor air handler, or "head," comes in several styles to suit different room layouts and preferences:
- Wall-Mounted: The most common and economical option. These slim units are mounted high on a wall, providing wide, even airflow across the room. They are relatively unobtrusive and work well in most spaces.
- Ceiling Cassette: These units are recessed into the ceiling, with only a sleek vent panel visible. They offer a very discreet look and four-way airflow. Installation is more complex and typically more expensive, as it requires space between ceiling joists 5.
- Floor-Mounted: Ideal for rooms with low ceilings, vaulted spaces, or walls with extensive glass. They are installed near the floor and direct airflow upward. This style can also be a good solution for rooms where wall space is limited.
Regardless of the style, maintaining proper clearance (usually at least 6 inches from the top and sides) is vital for optimal performance and air intake 6.
Outdoor Unit Placement Considerations
Where you place the outdoor condenser is just as important as the indoor units. Key considerations for Little Elm homeowners include:
- Adequate Clearance: Ensure there is at least 2-3 feet of clear space around the unit for proper air intake and exhaust. Never enclose it in a tight cubby or right up against a wall 7.
- Away from Debris: Position it away from areas that collect leaves, pollen, or lawn clippings, which can clog the coils.
- Shade and Sun: While some sun is unavoidable, excessive direct afternoon sun can make the unit work harder. A spot with some afternoon shade can help maintain efficiency.
- Accessibility: Leave room for technicians to perform routine maintenance and any future repairs.
Understanding Mini-Split Installation Costs in Little Elm
The cost for a ductless mini-split installation can vary widely based on your home's specific needs. Here's a general breakdown for the Little Elm area:
- Single-Zone System: Installation for a basic single-zone system typically ranges from $2,000 to $5,000. This covers one indoor head and one outdoor condenser for a single room or area 8.
- Multi-Zone System: For a system with 2-3 zones, expect costs in the range of $5,500 to $8,500 or more. The price increases with each additional indoor unit 9 10.
Several key factors influence the final price:
- Number of Zones: More indoor units mean more labor, materials, and a larger capacity outdoor unit.
- System Efficiency: Units with higher SEER2 (Seasonal Energy Efficiency Ratio) ratings are more efficient but come at a higher upfront cost.
- Brand and Features: Premium brands like Mitsubishi or Daikin often cost more than value-oriented brands. Features like advanced filtration or hyper-heat for very low temperatures also affect price.
- Installation Complexity: Long refrigerant line runs, difficult wall penetrations (like brick), or the need for new electrical circuits will add to the labor cost 11.
Why Choose a Mini-Split for Your Little Elm Home?
For Texas homes, the benefits of a ductless mini-split installation are compelling:
- Zoned Energy Efficiency: By cooling or heating only the rooms you use, you avoid the energy waste common with single-thermostat central systems. This can lead to noticeable savings on utility bills 12.
- Ideal for Diverse Home Layouts: They solve comfort problems in spaces that are poorly served by existing ductwork, such as bonus rooms, converted attics, or older parts of the home.
- Flexible Installation: The lack of ducts makes them less invasive to install than traditional HVAC systems, with minimal disruption to your walls and daily life.
- Year-Round Comfort: Modern mini-splits are effective heat pumps, providing efficient heating during our milder winters and powerful cooling in the summer, all from one system 13.
Frequently asked questions
Sources
Footnotes
-
Full Installation of Mini Split Ductless Unit, Step by Step! - https://www.youtube.com/watch?v=JQkth-AM5CE&t=156 ↩
-
Ductless Mini Split Installation Guide: What Every Homeowner ... - https://www.aceanda.com/blog/ductless-mini-split-installation-guide-what-every-homeowner-should-know/ ↩
-
Ductless Mini-Splits: A Comprehensive Cost Breakdown | Fire & Ice - https://indoortemp.com/resources/cost-of-mini-split-ductless-system ↩
-
Ductless mini-split installation: Cool 2025 Guide - Southern Air - https://www.southern-air.com/blog/ductless-mini-split-installation ↩
-
How Much Does a Mini-Split Installation Cost? - Taskrabbit Blog - https://www.taskrabbit.com/blog/mini-split-installation-cost/ ↩
-
DIY Mini Split Install - All the Things Nobody Shows You - https://www.youtube.com/watch?v=2mKwCmaR5Qg&t=16 ↩
-
The Ultimate HVAC Mini Split Installation Guide - https://ashburnhvac.com/the-ultimate-hvac-mini-split-installation-guide/ ↩
-
Understanding Mini Split Installation Costs A Complete Guide - https://armusmech.net/understanding-mini-split-installation-costs-a-complete-guide/ ↩
-
Ductless Mini-Split Installation Cost in 2025: Full Breakdown - https://osborneheatingncooling.com/ductless-mini-split-installation-cost/ ↩
-
How much to install mini split? - https://mrgoodguyhvac.com/how-much-to-install-mini-split/ ↩
-
Ductless Mini Split Installation Costs in 2026 - Carrier - https://www.carrier.com/residential/en/us/products/ductless-mini-splits/ductless-mini-split-installation-cost/ ↩
-
Ductless Mini Split Installation Guide for Texas Homes - https://colleyrefrigeration.com/ductless-mini-split-installation-guide-texas/ ↩
-
Mini Split Systems vs. Central Air Conditioning: Choosing the Right HVAC System for Your Clients - https://www.greecomfort.com/news-and-events/mini-split-systems-vs-central-air-conditioning/ ↩