Find the Best Mini-Split Installers for Your Business
No obligation • Fast responses • Nationwide coverage
Why you can trust HVAC Firms
HVAC Firms is a leading United States resource for evaluating HVAC service providers. Our team researches companies, checks credentials, and reviews customer feedback to present clear, unbiased information. Listings and rankings are based on merit, and companies cannot pay to change our editorial content.
Search providers near you
Top Mini-Split Installers in Keller, Texas Ranked
A ductless mini-split system is a versatile and efficient solution for heating and cooling specific areas of your Keller home. Unlike traditional central air systems, these units don't require extensive ductwork, making them ideal for room additions, converted spaces, or older homes without existing ducts. This guide will help you understand the process, benefits, and key considerations for installing a mini-split, empowering you to find the right local expertise for your project.
Understanding Ductless Mini-Split Systems
A ductless mini-split, often simply called a ductless AC or heat pump, consists of two main components: a quiet outdoor condenser and one or more indoor air-handling units. These are connected by a small conduit that houses refrigerant lines, power cables, and a drain line, which is run through a modest 3-4 inch hole in your exterior wall. This design provides zoned comfort, allowing you to control the temperature in individual rooms or "zones" independently, which can lead to significant energy savings and personalized comfort.
Why Keller Homeowners Choose Mini-Splits
In Keller's climate, where both efficient cooling and supplemental heating are valuable, ductless systems offer a compelling option. They are particularly advantageous for:
- Home Additions: Adding conditioned space to a sunroom, garage, or new bedroom without the cost and complexity of extending your home's existing ductwork 1.
- Older Homes: Providing modern, efficient climate control to historic or older properties that were built without a central forced-air system.
- Problem Rooms: Solving hot or cold spots in specific areas like a master bedroom, home office, or attic conversion.
- Efficiency Goals: Modern inverter-driven mini-splits are among the most energy-efficient HVAC options available, which can help manage utility costs.
Planning Your Mini-Split Installation
Successful installation starts with careful planning. The first step is determining the right system configuration for your needs.
Choosing Between Single-Zone and Multi-Zone Systems
Your choice here defines the system's scope and flexibility.
- Single-Zone Systems: This setup involves one outdoor condenser connected to a single indoor unit. It's perfect for conditioning one specific area, such as a garage workshop, a bonus room over the garage, or a sunroom 2 3. It's typically the most straightforward and cost-effective option to install.
- Multi-Zone Systems: A single outdoor unit can connect to multiple indoor units (commonly 2, 3, 4, or more). This allows you to create customized climate zones throughout your home-cooling the living room while keeping a bedroom warmer, for example 4. Multi-zone installations are excellent for whole-home comfort in ductless properties or for adding capacity to key living areas.
Selecting and Placing Indoor Units
The type and placement of your indoor air handlers are crucial for performance, aesthetics, and comfort.
- Wall-Mounted Units: This is the most common and generally most cost-effective style. They are mounted high on an interior wall, which allows for efficient air distribution. Placement should be on an exterior wall for easier line routing, away from direct sunlight and heat sources like televisions or lamps 5.
- Ceiling Cassette Units: These are recessed into the ceiling, with only a sleek vent panel visible. They provide a more discreet, centralized airflow and are ideal for rooms where wall space is limited or a minimalist look is desired. Installation can be more complex if ceiling access is required.
- Floor-Mounted Units: Designed to sit low on the wall, similar to traditional radiators. They are a good choice for rooms with large window walls or in spaces where wall-mounted units aren't feasible, and they can provide excellent air circulation at occupant level.
For all types, ensuring the unit is placed where air can circulate freely without obstruction is key to its efficiency and effectiveness.
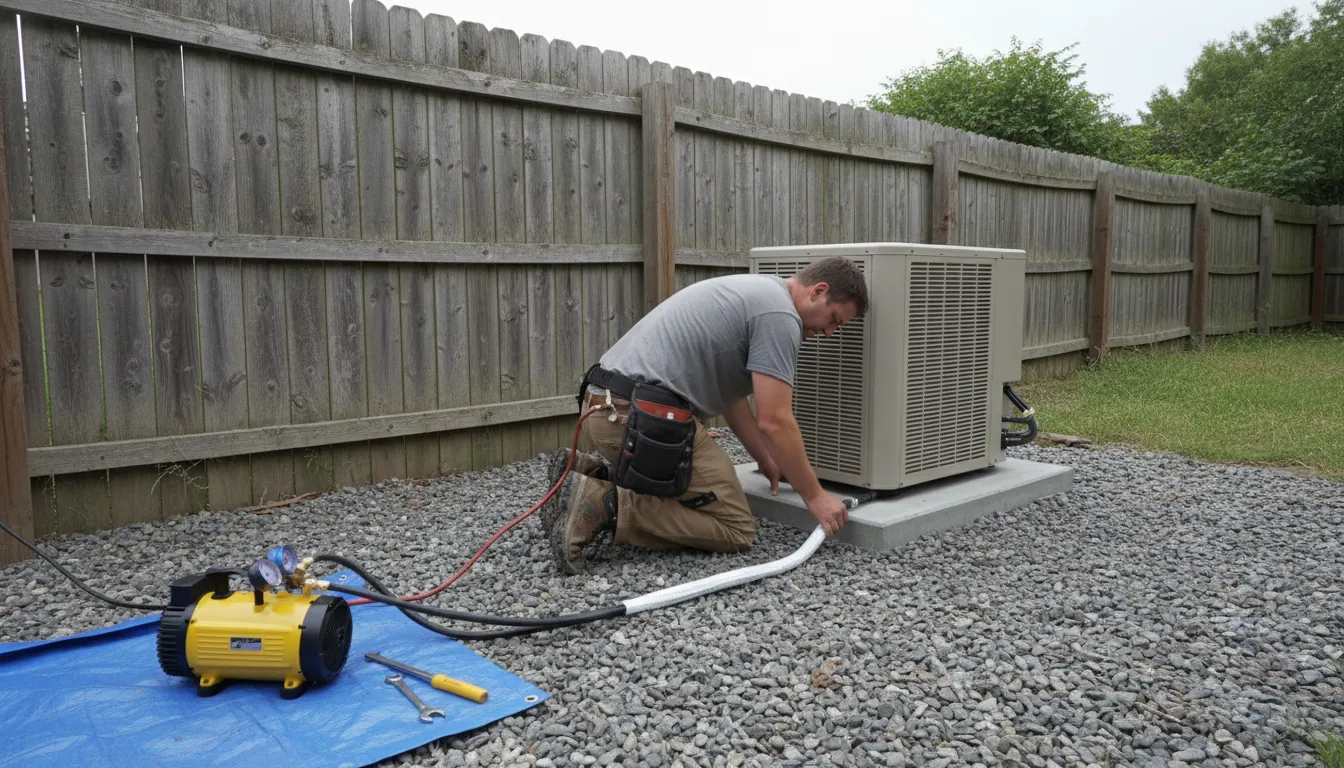
Siting the Outdoor Condenser
The outdoor unit requires thoughtful placement for performance, longevity, and neighborly consideration.
- Stable Foundation: The condenser must be placed on a stable, level surface. This is typically a dedicated concrete pad or specially rated composite pad. In some cases, sturdy wall brackets can be used for mounting.
- Critical Clearances: Proper airflow is non-negotiable. You must maintain a minimum of 1 to 2 feet of clearance on all sides of the unit from walls, fences, shrubs, or other obstructions 6. This allows the unit to "breathe," expelling heat efficiently. Blocked airflow is a leading cause of reduced performance and premature system failure.
- Consider Noise and Access: While modern units are very quiet, consider its proximity to bedroom windows or neighboring properties. Also, ensure installers and future technicians will have easy access for maintenance and service.
Find the perfect mini-split installers for your needs
Get personalized recommendations and expert advice
The Professional Installation Process
While DIY kits exist, professional installation is strongly recommended to ensure warranty validity, system efficiency, and long-term reliability 7. Here's what a qualified technician will do:
- Site Evaluation & Planning: A technician will assess your home's layout, insulation, and electrical service to determine the correct system size (in BTUs) and the optimal routing for lines.
- Mounting the Units: The indoor unit(s) are securely mounted on the prepared wall, ceiling, or floor bracket. The outdoor condenser is placed on its pad or brackets.
- Drilling the Line Set Hole: A small, clean hole is drilled through the exterior wall at the designated spot to connect the indoor and outdoor units.
- Connecting the Line Set: The pre-charged refrigerant lines, electrical conduit, and condensate drain line are run through the wall conduit and connected between the units. This requires precision and proper sealing.
- Evacuating and Charging: The refrigerant lines are connected to a vacuum pump to remove all air and moisture-a critical step. Any moisture left inside can cause ice formation and compressor damage. The system is then charged with the precise amount of refrigerant 8.
- Electrical Connections: The system is connected to your home's electrical panel by a licensed professional, ensuring it meets all local Keller and Tarrant County codes.
- System Testing & Commissioning: The installer will test the system for cooling, heating, and fan operations, check for refrigerant leaks, verify drainage, and demonstrate the thermostat controls to you.
Understanding Investment and Value
The cost of a mini-split installation in Keller can vary widely based on the system's complexity, brand, and efficiency rating. Here are general ranges based on equipment and professional labor 9 10:
- Single-Zone System: Typically ranges from $3,000 to $5,000.
- Multi-Zone Systems (2-4 zones): Often range from $5,500 to $10,000 or more.
Several factors influence the final price:
- Number of Zones & Indoor Units: Each additional indoor unit adds to the equipment and labor cost.
- System Efficiency (SEER2 Rating): Higher-efficiency models with inverter technology cost more upfront but offer lower operating costs.
- Brand: Premium brands known for reliability and performance may command a higher price.
- Installation Complexity: Factors like long line set runs, the need for a condensate pump, or challenging wall constructions can add to the labor time and cost 11 12.
While the initial investment can be significant, the value comes from targeted comfort, high energy efficiency, and the flexibility to cool and heat spaces that were previously difficult or expensive to condition.
Frequently asked questions
Sources
Footnotes
-
Ductless mini-split installation: Cool 2025 Guide - Southern Air - https://www.southern-air.com/blog/ductless-mini-split-installation ↩
-
How to Install a Mini Split - https://www.homedepot.com/c/ah/how-to-install-a-mini-split/9ba683603be9fa5395fab90c887a9dd ↩
-
How Much Do Mini Splits Cost? A Guide to Mini Split Prices - https://blog.totalhomesupply.com/mini-split-cost/ ↩
-
Mini Split AC: Cool Your Home, Control Your Comfort - https://www.acdirect.com/blog/stay-cool-and-comfy-the-rising-popularity-of-mini-split-ac-systems/ ↩
-
Ductless Mini Split Installation Guide: What Every Homeowner ... - https://www.aceanda.com/blog/ductless-mini-split-installation-guide-what-every-homeowner-should-know/ ↩
-
Install Your Own Mini Split AC and Save Big - AC Superheroes - https://www.acsuperheroestx.com/blog/ductless-ac-installation ↩
-
Ductless Mini Split Setup: An Ultimate Guide - Airflow Heating & Air - https://www.goairflow.com/blog/ductless-mini-split-installation/ ↩
-
How to Install a Ductless Mini-Split Air Conditioner | This Old ... - https://www.youtube.com/watch?v=ozaw9QhxkQU&t=25 ↩
-
Ductless Mini-Split Installation Cost in 2025: Full Breakdown - https://osborneheatingncooling.com/ductless-mini-split-installation-cost/ ↩
-
Understanding Mini Split Installation Costs A Complete Guide - https://armusmech.net/understanding-mini-split-installation-costs-a-complete-guide/ ↩
-
Ductless Mini-Splits: A Comprehensive Cost Breakdown - https://www.myfivestarhomeservices.com/ductless-mini-splits-a-comprehensive-cost-breakdown/ ↩
-
How much to install mini split? - https://mrgoodguyhvac.com/how-much-to-install-mini-split/ ↩